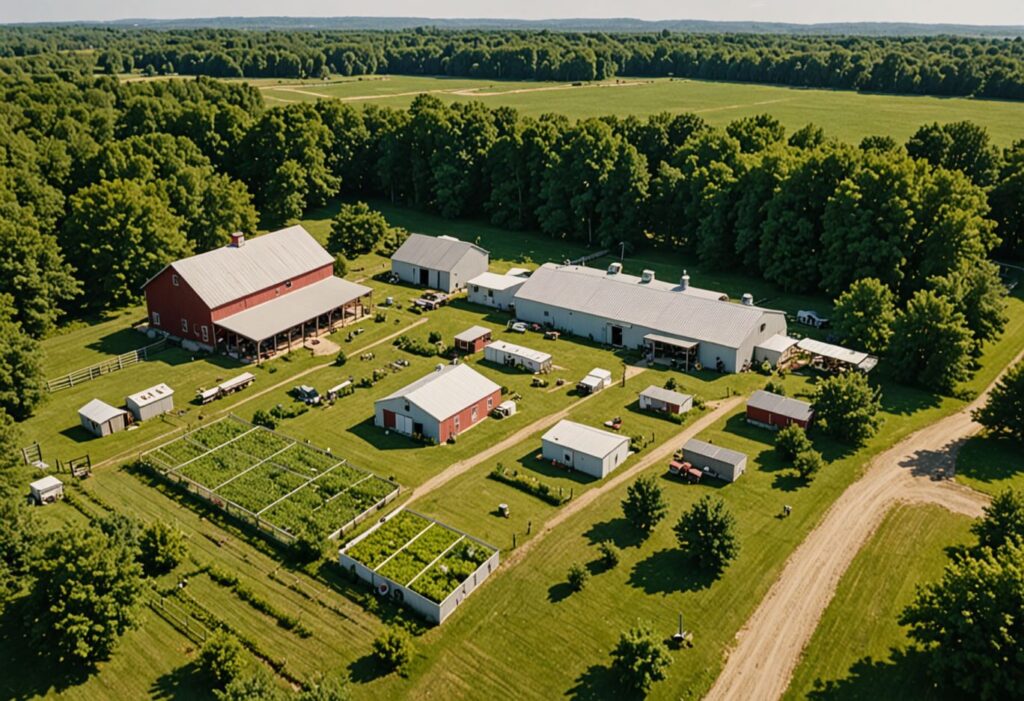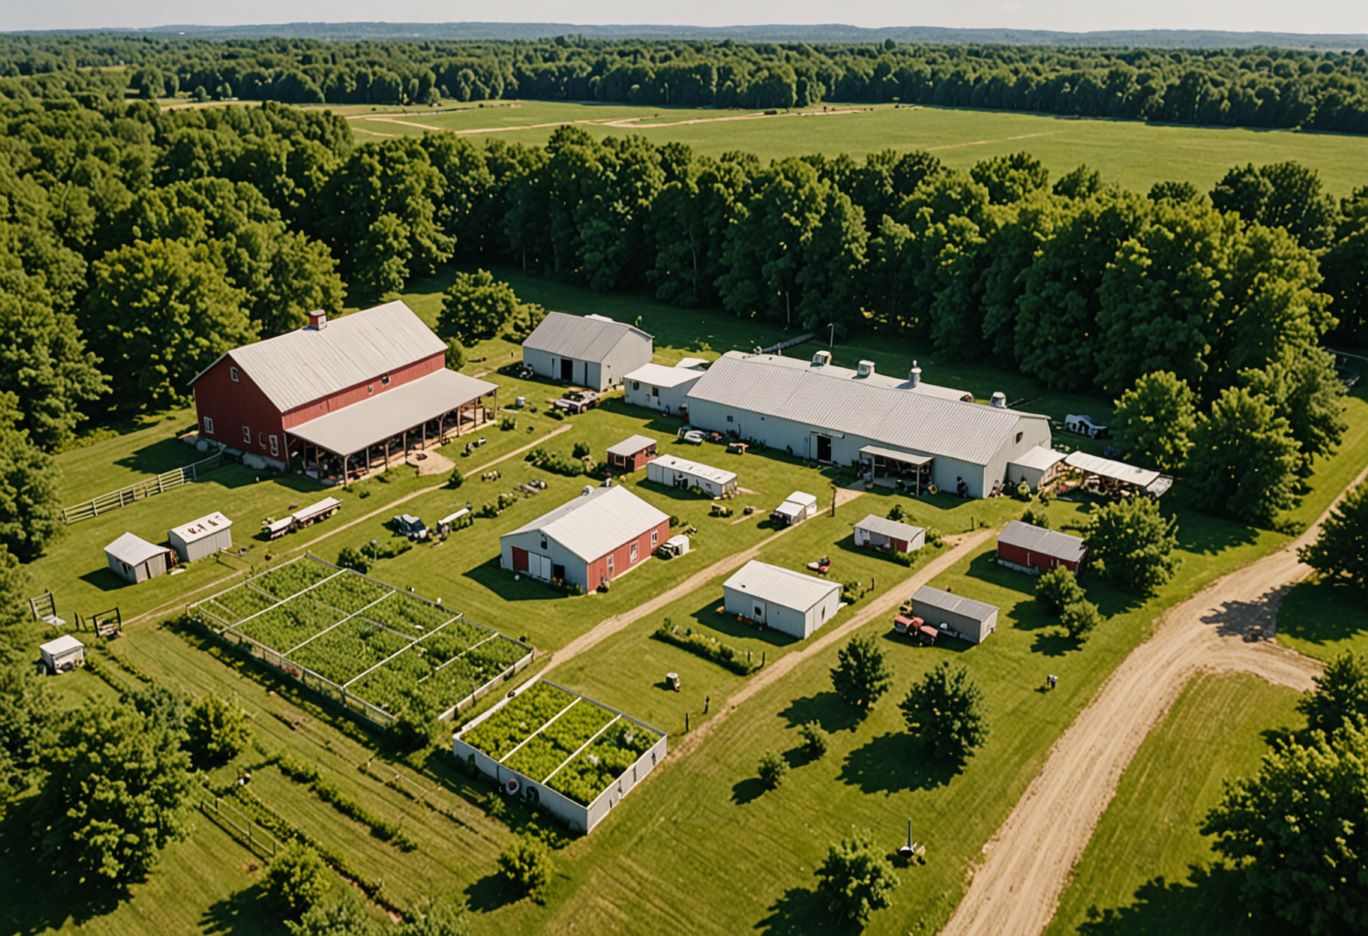
Living on 5 acres gives you a wealth of opportunities to embrace the homesteading lifestyle. Whether you’re looking to raise livestock, grow your own food, or simply enjoy a more self-sufficient way of life, building the right structures on your property is key to your success. DIY projects on your homestead not only save money but also allow you to tailor each building to your specific needs. In this article, we’ll explore essential DIY projects for homesteaders, from barns to greenhouses, and provide practical tips for building these structures on a 5-acre property.
Planning Your DIY Projects on a 5-Acre Homestead
Assessing Your Needs
Before you start gathering materials and sketching out designs for the DIY projects on your homestead, it’s crucial to assess your homestead’s needs. Ask yourself which structures are essential for your daily operations and long-term goals. Common buildings include barns for livestock, greenhouses for year-round gardening, tool sheds for equipment storage, and workshops for various homestead projects. Consider what you plan to grow, raise, or store, and how these activities will evolve over time. This will help you prioritize your projects and allocate space effectively.
Budgeting and Resources
Once you have a clear idea of what you need, it’s time to budget. Building structures can be expensive, but with careful planning, you can manage costs. Start by researching the price of materials and tools, and look for opportunities to repurpose or recycle items you already have. For example, old pallets can be turned into a sturdy chicken coop, and reclaimed wood can be used for a barn. Keep in mind that investing in quality materials and tools can save you money in the long run by reducing maintenance and repairs.
Permits and Regulations
Before you break ground, make sure you’re in compliance with local building codes and zoning regulations. Depending on your location, you may need permits for certain structures, especially those that will house livestock or require electrical and plumbing systems. Failing to obtain the necessary permits can lead to fines or even orders to dismantle your hard work. It’s also a good idea to check with your neighbors, particularly if your project might impact shared boundaries or views.
Designing for Efficiency
When designing your structures, think about how you can maximize efficiency. For example, placing your barn near your pasture or your garden close to your kitchen can save time and energy. Consider the layout of your homestead as a whole, ensuring that buildings are positioned in a way that supports your daily routines and minimizes the distance you have to travel between them. Think about natural elements like sunlight and wind direction, and use them to your advantage when planning the placement of windows, doors, and ventilation systems.
Essential Tools and Materials for DIY Homestead Projects
Basic Tools
Every homesteader needs a reliable set of basic tools. A good hammer, a sturdy saw, a level, and a tape measure are indispensable for most projects. A crowbar and a set of wrenches will also come in handy for demolition and assembly tasks. These tools don’t have to be top-of-the-line, but they should be durable enough to withstand frequent use.
Power Tools
For larger projects, investing in power tools can make the work faster and easier. A drill is essential for assembling structures, and a circular saw is invaluable for cutting large pieces of wood. A power sander will help you finish surfaces smoothly, and a nail gun can save your hands from repetitive strain. While these tools represent a significant upfront cost, they pay off in efficiency and precision, especially when you’re building something as large as a barn or a workshop.
Building Materials
Choosing the right materials is crucial to the success of your DIY projects for your homestead. For most structures, wood is a versatile and relatively easy material to work with. Pine and cedar are popular choices for their durability and resistance to insects. If you’re building a barn or shed, consider using treated lumber for the frame and siding to extend the life of the structure. For greenhouses, consider polycarbonate panels or polyethylene sheeting for the walls and roof, as these materials are lightweight, durable, and allow plenty of light to penetrate.
Safety Gear
Safety should always be a top priority on the homestead. Equip yourself with gloves, safety goggles, and a hard hat to protect against common injuries. If you’re working with power tools, hearing protection is also essential. Additionally, make sure you have a first aid kit on hand, and take the time to familiarize yourself with basic first aid procedures in case of an accident.
DIY Projects for Homestead: Building a Small Barn on a Budget
Planning and Design
A small barn is one of the most useful structures you can build on a 5-acre homestead, providing shelter for livestock, storage for feed, and space for equipment. When planning your barn, consider what animals you’ll be housing and how much space they require. For example, goats and chickens need less space than cows or horses, so design accordingly. Also, think about future expansion. Even if you start small, leaving room for growth can save you the hassle of building additional structures later.
Material Selection
Building a barn on a budget doesn’t mean sacrificing quality. Look for affordable, durable materials that will stand up to the elements. Treated lumber is a cost-effective choice for framing, while corrugated metal or reclaimed wood can make for sturdy, weather-resistant siding. If you’re using concrete for the foundation, consider mixing it yourself to save on costs. For the roof, metal panels are a good option as they are long-lasting and provide excellent protection against rain and snow.
Step-by-Step Guide
- Lay the Foundation: Start by leveling the ground where your barn will sit. Build a simple concrete slab or use gravel for a more budget-friendly option.
- Frame the Structure: Construct the frame using 4×4 posts for the corners and 2x4s for the walls. Make sure the frame is square and level.
- Add the Roof: Attach roof trusses to the top of the frame and cover them with metal panels or shingles.
- Install Siding and Doors: Nail the siding to the frame and hang doors on heavy-duty hinges. If you plan to store hay or feed, consider adding loft space above the main floor.
- Finish the Interior: If you’re housing animals, install stalls or pens inside the barn, and lay down rubber mats or straw bedding.
Tips for Success
- Ventilation: Ensure your barn has adequate ventilation to prevent moisture buildup, which can lead to mold and health issues for your animals.
- Lighting: Install windows or skylights to allow natural light in, reducing the need for electric lighting.
- Drainage: Grade the area around the barn to prevent water from pooling near the foundation.
DIY Projects for Homestead: Greenhouse Construction with the Best Materials and Plans
Choosing the Right Location
The success of your greenhouse depends largely on its location. Ideally, place it in an area that receives full sun throughout the day, away from trees or buildings that could cast shadows. If possible, position the greenhouse with the long side facing south to maximize sunlight exposure during the winter months. Make sure the ground is level and well-drained to avoid water issues.
Material Options
When it comes to building a greenhouse, you have several material options for the frame and covering.
- Frame Materials: Wood is a popular choice for its ease of use and availability, though it requires regular maintenance to prevent rot. Metal frames, particularly aluminum, are more durable and low-maintenance but can be more expensive. PVC is another option, offering a balance between affordability and durability.
- Covering Materials: Polycarbonate panels are a top choice for greenhouse walls and roofs due to their insulation properties and durability. They are also lightweight and easy to install. If you’re on a tighter budget, polyethylene film is a cheaper alternative, though it may need to be replaced more frequently.
Building Plans
- Foundation: Start with a simple foundation, such as a perimeter of concrete blocks or a gravel bed. Ensure it’s level before proceeding.
- Frame: Construct the frame according to your chosen material. For wood, use treated lumber to resist moisture. Metal frames can be bolted together for added strength.
- Roof: Attach roof trusses to create a sturdy frame for the covering material. If you’re using polycarbonate panels, ensure they are properly sealed to prevent leaks.
- Walls and Doors: Install the walls, leaving space for vents and doors. Vents are essential for controlling temperature and humidity inside the greenhouse.
- Interior Setup: Add shelves, benches, and planting beds as needed. Consider installing a simple drip irrigation system to keep your plants hydrated.
Heating and Ventilation
Maintaining the right temperature in your greenhouse is key to plant health. Install roof vents or side vents to allow hot air to escape during the day, and consider using thermal mass, such as water barrels or stone, to retain heat at night. In colder climates, you may need to supplement with electric or gas heaters.
Constructing a Tool Shed: Essential Features and Design Tips
Size and Location
Your tool shed should be large enough to store all your essential tools, with room to move around comfortably. Measure your tools and equipment to determine the minimum size needed. Place the shed near your garden or workshop for easy access but out of the way of main traffic areas. Make sure the ground is level and consider placing the shed on a concrete slab or treated wood skids to prevent moisture damage.
Designing for Efficiency
Inside the shed, efficiency is key. Install wall-mounted racks and shelves to keep tools organized and off the floor. A pegboard is an excellent addition for hanging smaller tools like hammers, pliers, and screwdrivers. If space allows, include a small workbench for sharpening tools, potting plants, or repairing equipment.
Building the Structure
- Foundation: As with other structures, start with a stable foundation. A concrete slab is ideal, but a gravel base can also work for smaller sheds.
- Frame and Walls: Build the frame using 2×4 lumber. Sheathe the walls with plywood or oriented strand board (OSB), which can be painted or stained for durability.
- Roof: Construct a simple gable roof, covering it with shingles or metal panels. Ensure the roof extends over the sides of the shed to protect the walls from rain.
- Doors and Windows: Hang the door on heavy-duty hinges and install a secure lock. Add a small window to allow natural light in, making it easier to find tools inside.
Security Considerations
Since your tools are valuable, consider security when building your shed. Use solid doors with reinforced frames, and install a quality lock. For added peace of mind, consider adding motion-sensor lights or a security camera near the entrance.
Creating a Workshop Space on Your Homestead
Planning Your Workshop
Your workshop is the heart of your DIY operations, so plan it carefully. Think about the types of projects you’ll be working on and the tools you’ll need. A spacious, well-organized workshop can greatly increase your productivity and make your projects more enjoyable.
Power Supply and Lighting
Make sure your workshop has adequate power supply for your tools. Consider installing multiple outlets along the walls, with at least one on a dedicated circuit for high-power tools like table saws or compressors. Lighting is equally important; install bright overhead lights and task lighting over workbenches for detailed work.
Workbench and Tool Storage
A sturdy workbench is the centerpiece of any workshop. Build or buy a bench that’s large enough to accommodate your projects, with a durable surface that can take a beating. Under-bench storage is useful for keeping frequently used tools within reach. Wall-mounted cabinets and pegboards help organize smaller tools and supplies, keeping your workspace clutter-free.
Workshop Safety
Safety is paramount in a workshop. Keep your workspace clean and organized to prevent accidents. Install a fire extinguisher in an easily accessible location, and make sure your electrical system is up to code. If you’re working with flammable materials, store them in a fireproof cabinet. Always wear safety gear, such as goggles and hearing protection, when using power tools.
DIY Projects for Homestead: Building a Chicken Coop
Designing the Coop
A well-designed chicken coop is essential for the health and productivity of your flock. The coop should provide enough space for the number of chickens you plan to keep, with room for them to move around comfortably. As a general rule, allow for at least 4 square feet of floor space per chicken inside the coop and 10 square feet per chicken in the outdoor run.
Materials and Construction
Building a chicken coop can be a straightforward DIY projects for a homestead if you keep the design simple. Use treated lumber for the frame and plywood for the walls. The roof should be waterproof, made from materials like corrugated metal or asphalt shingles. Ensure the coop is well-ventilated but draft-free, and include windows that can be opened for additional airflow during hot weather.
Adding Nesting Boxes and Perches
Inside the coop, provide nesting boxes for hens to lay their eggs. One nesting box for every 3-4 hens is usually sufficient. Line the boxes with straw or wood shavings for comfort. Install perches for roosting, with enough space for each chicken to have a spot off the ground. The perches should be made from rounded wood to prevent foot injuries.
Maintenance Tips
Regular maintenance is key to keeping your chickens healthy and happy. Clean the coop at least once a week, removing old bedding and replacing it with fresh material. Check for signs of pests, like mites or rodents, and address any issues promptly. Periodically inspect the coop’s structure for damage, especially after storms or severe weather.
Tips for Success in DIY Projects for Homestead
Learning and Improving
Homesteading is a continuous learning process. Take advantage of online resources, books, and community workshops to improve your skills. Joining a homesteading group, either locally or online, can provide valuable advice and support as you take on new projects.
Common Mistakes to Avoid
Even seasoned homesteaders make mistakes. Some common pitfalls include underestimating the time and cost of a project, using subpar materials, and neglecting safety precautions. To avoid these, plan thoroughly, invest in quality materials, and always prioritize safety. Don’t be afraid to ask for help or seek advice from more experienced homesteaders.
Working with Family and Friends
DIY projects for homestead can be a great way to bond with family and friends. Involve your loved ones in the planning and execution of your projects, making it a collaborative effort. Not only will this lighten the workload, but it will also create lasting memories. Plus, having extra hands on deck can make large projects more manageable.
Sustainability Practices
As a homesteader, sustainability is likely one of your core values. Incorporate eco-friendly practices into your DIY projects by using reclaimed materials, minimizing waste, and choosing energy-efficient designs. Not only will this reduce your environmental footprint, but it can also save you money in the long run.
Conclusion
Building structures on your 5-acre homestead is an essential part of creating a self-sufficient lifestyle. By taking on DIY projects on your homestead, you can tailor each building to your needs while saving money and learning valuable skills. Whether you’re constructing a barn, greenhouse, tool shed, or chicken coop, careful planning and attention to detail will ensure your projects are successful. Start with small, manageable projects and build your confidence as you go. With the right tools, materials, and knowledge, you’ll soon have a thriving homestead that reflects your hard work and dedication.


